Rowhouse Insulation
This month we’re going to talk about the challenge of insulating a rowhouse. While it wasn’t common practice when most of Philadelphia’s housing stock was built - with the cost of energy these days and our concern for the environment, it’s important to find ways to insulate and air seal to the extent possible. We’re going to tackle this topic in order, from simplest and most important on to increasing levels of difficulty. Whatever you do is going to help, so let’s get started.

Heat rises, so it’s important to insulate the top of your rowhouse. This is also one of the easiest places to insulate, so I suggest you start here. In the photo above you can see metal studs framing a ceiling, and above that the roof joists. Most rowhouses do not have attics, but they do have space between the ceiling and the roof. Usually there is at least 8” and often as much as 24” in places. One of the best options for this space is to have cellulose insulation blown into this area.
Cellulose insulation is made from recycled material (usually newspaper) and is a green and healthy option. What’s funny is, if we do find any attempts at insulation from the past, it is often whole sheets of newspaper shoved in a wall to reduce drafts. Cellulose has an R-value of around 3.5 per inch. The higher that number is the better, but there are a lot of factors to balance. This type of insulation can be blown in to holes made in the ceiling, so it’s relatively easy to do in a finished space. In the photo above we had removed the plaster ceiling, so we could have used any type of insulation, but we still chose cellulose because it’s affordable and green. If you have enough space, and can get to a total R-value approaching 60 (i.e an average cavity of 18”), then this is a good choice for you.
Warning: Before you insulate, make sure you don’t have any old knob and tube wiring above the ceiling. This would cause a fire hazard.
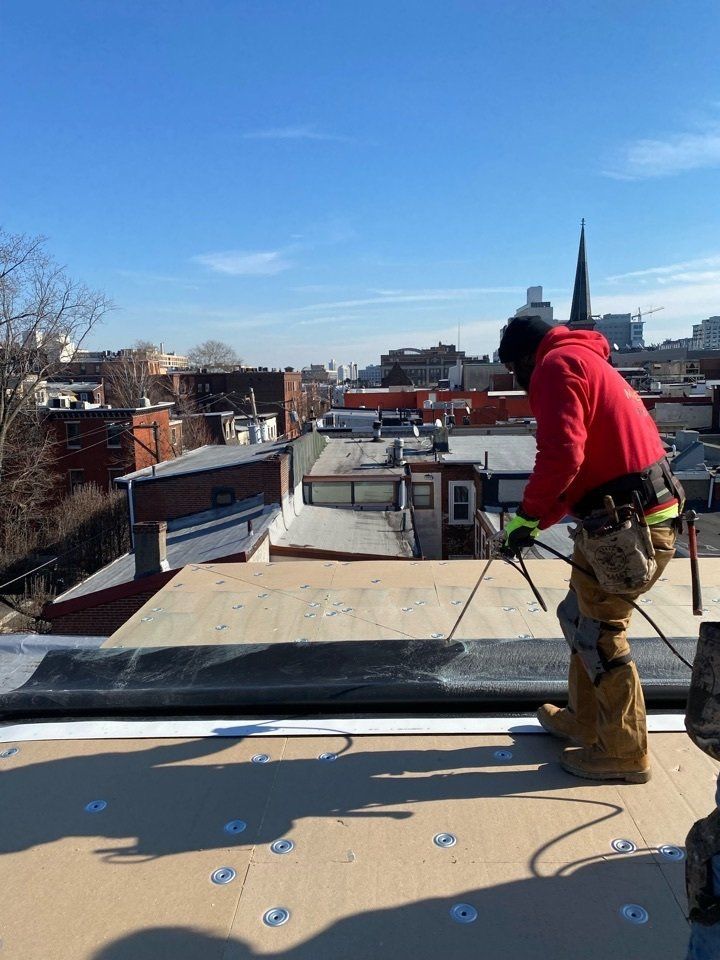
If you don’t have the space above your ceiling, or need to have your roof replaced, another good way to insulate the top of your rowhouse is with continuous exterior insulation. In the photo above, you can see how we screwed down sheets of rigid insulation with large washers before installing the roof membrane over top.
The material used for this (usually poly-iso insulation) has a higher R-value per inch (6.5) than the cellulose we put inside. Also, the word continuous is important. Insulation on the inside of your house is usually installed between wood framing. Those wood studs or joists break the insulation, and create a path for heat to travel out of the house. On the exterior, you can have insulation with no thermal breaks. That’s a good thing. Exterior insulation can also be installed on the walls of your home if you are installing new siding. If you have brick walls and don’t want to cover them up, read on.
Ok, so your roof line is insulated. Now let’s move on to the walls. This is where it becomes more challenging. Rowhouses are narrow, it’s kind of their thing - so space is critical, and they were often built with zero to one inch of space behind the plaster or drywall - not enough to do much insulating.
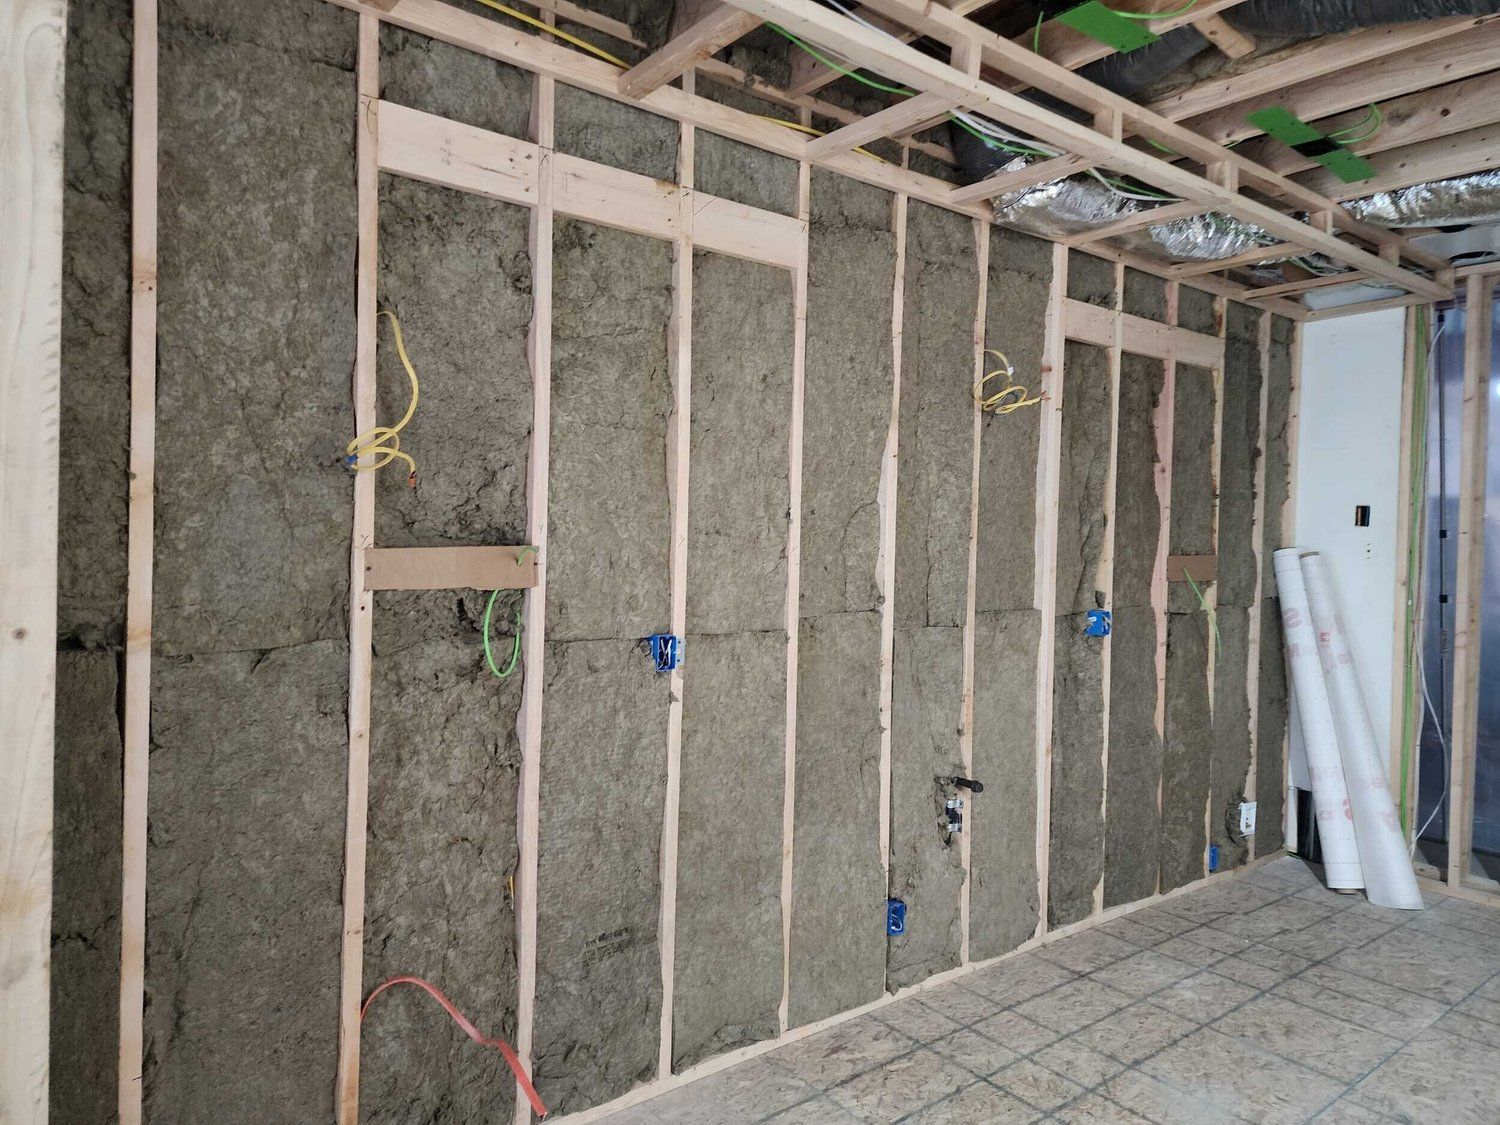
If we have room to build a 2x4 wall inside the masonry exterior, we will generally use a batt insulation. It might be the fiberglass most people are familiar with (always get formaldehyde-free), but most times we use Roxul, a product made from, believe it or not, recycled stone, rock, and slag from the steel industry. That’s what you see in the photo above. This insulation is dense, good at sound reduction (a plus in the city), and fireproof. It has an R-value per inch of around 4, so we can get an R-15 in a 2x4 wall.
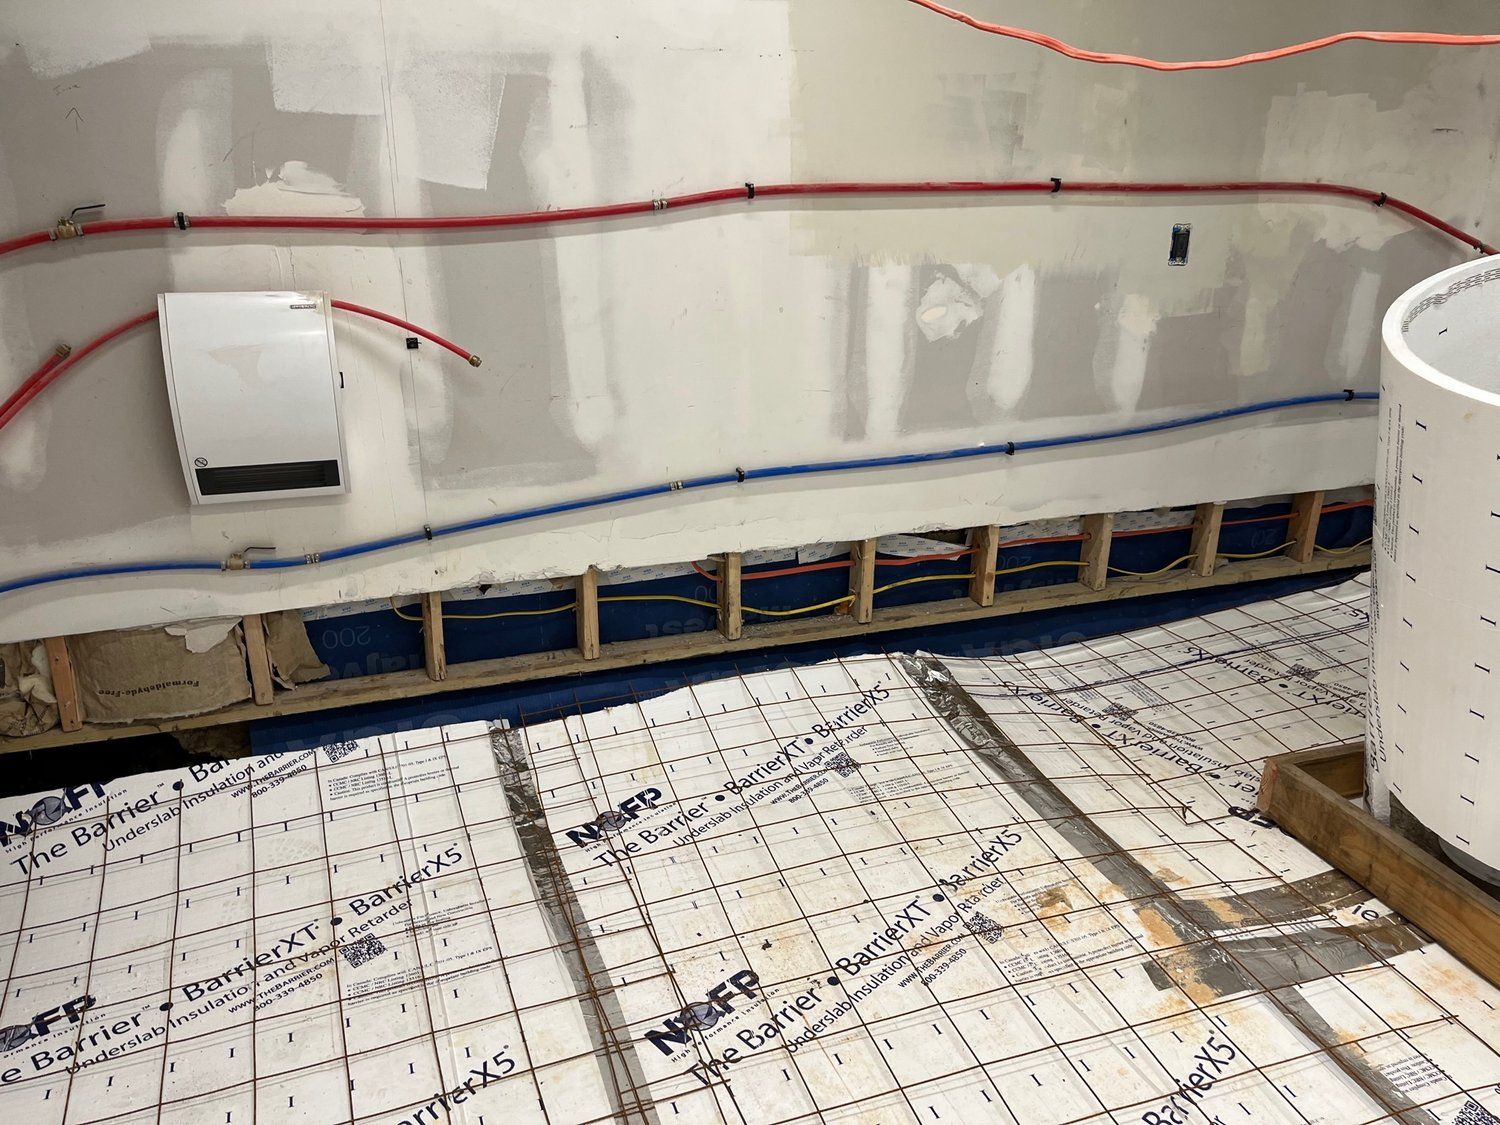
Walls and roof. That’s it, right? Nope. You want to keep your feet warm, right? It’s a constant temperature underground - so when it’s hot in the Summer you’re gaining heat from the ground, and in the Winter you’re losing heat into it. So, if you can insulate under your house, you should. The best time to do this is if you need to pour a new concrete slab. In the photo above you can see a blue air barrier that wraps up the wall (more on that in a bit), and then the white sheets are rigid, under slab insulation. You’ll need to dig out some more dirt so that you have room to fit these sheets, but this is the time to do it. You don’t replace a slab very often.
One more thing. In some ways this is one of the easiest things to tackle, though to really do it well is challenging. I’m talking about air sealing. Insulation only works if air isn’t blowing through it. This is why we always say “insulation and air sealing” in the same breath. You should always be on the look out for drafts. How do you see them? Well, you could borrow a thermal imaging camera, or you could just feel the drafts. Put your hand around doors, windows, outlets, etc in the Winter. You’ll feel the drafts. Use caulk, weatherstripping, whatever works - but try to reduce the drafts in your home.
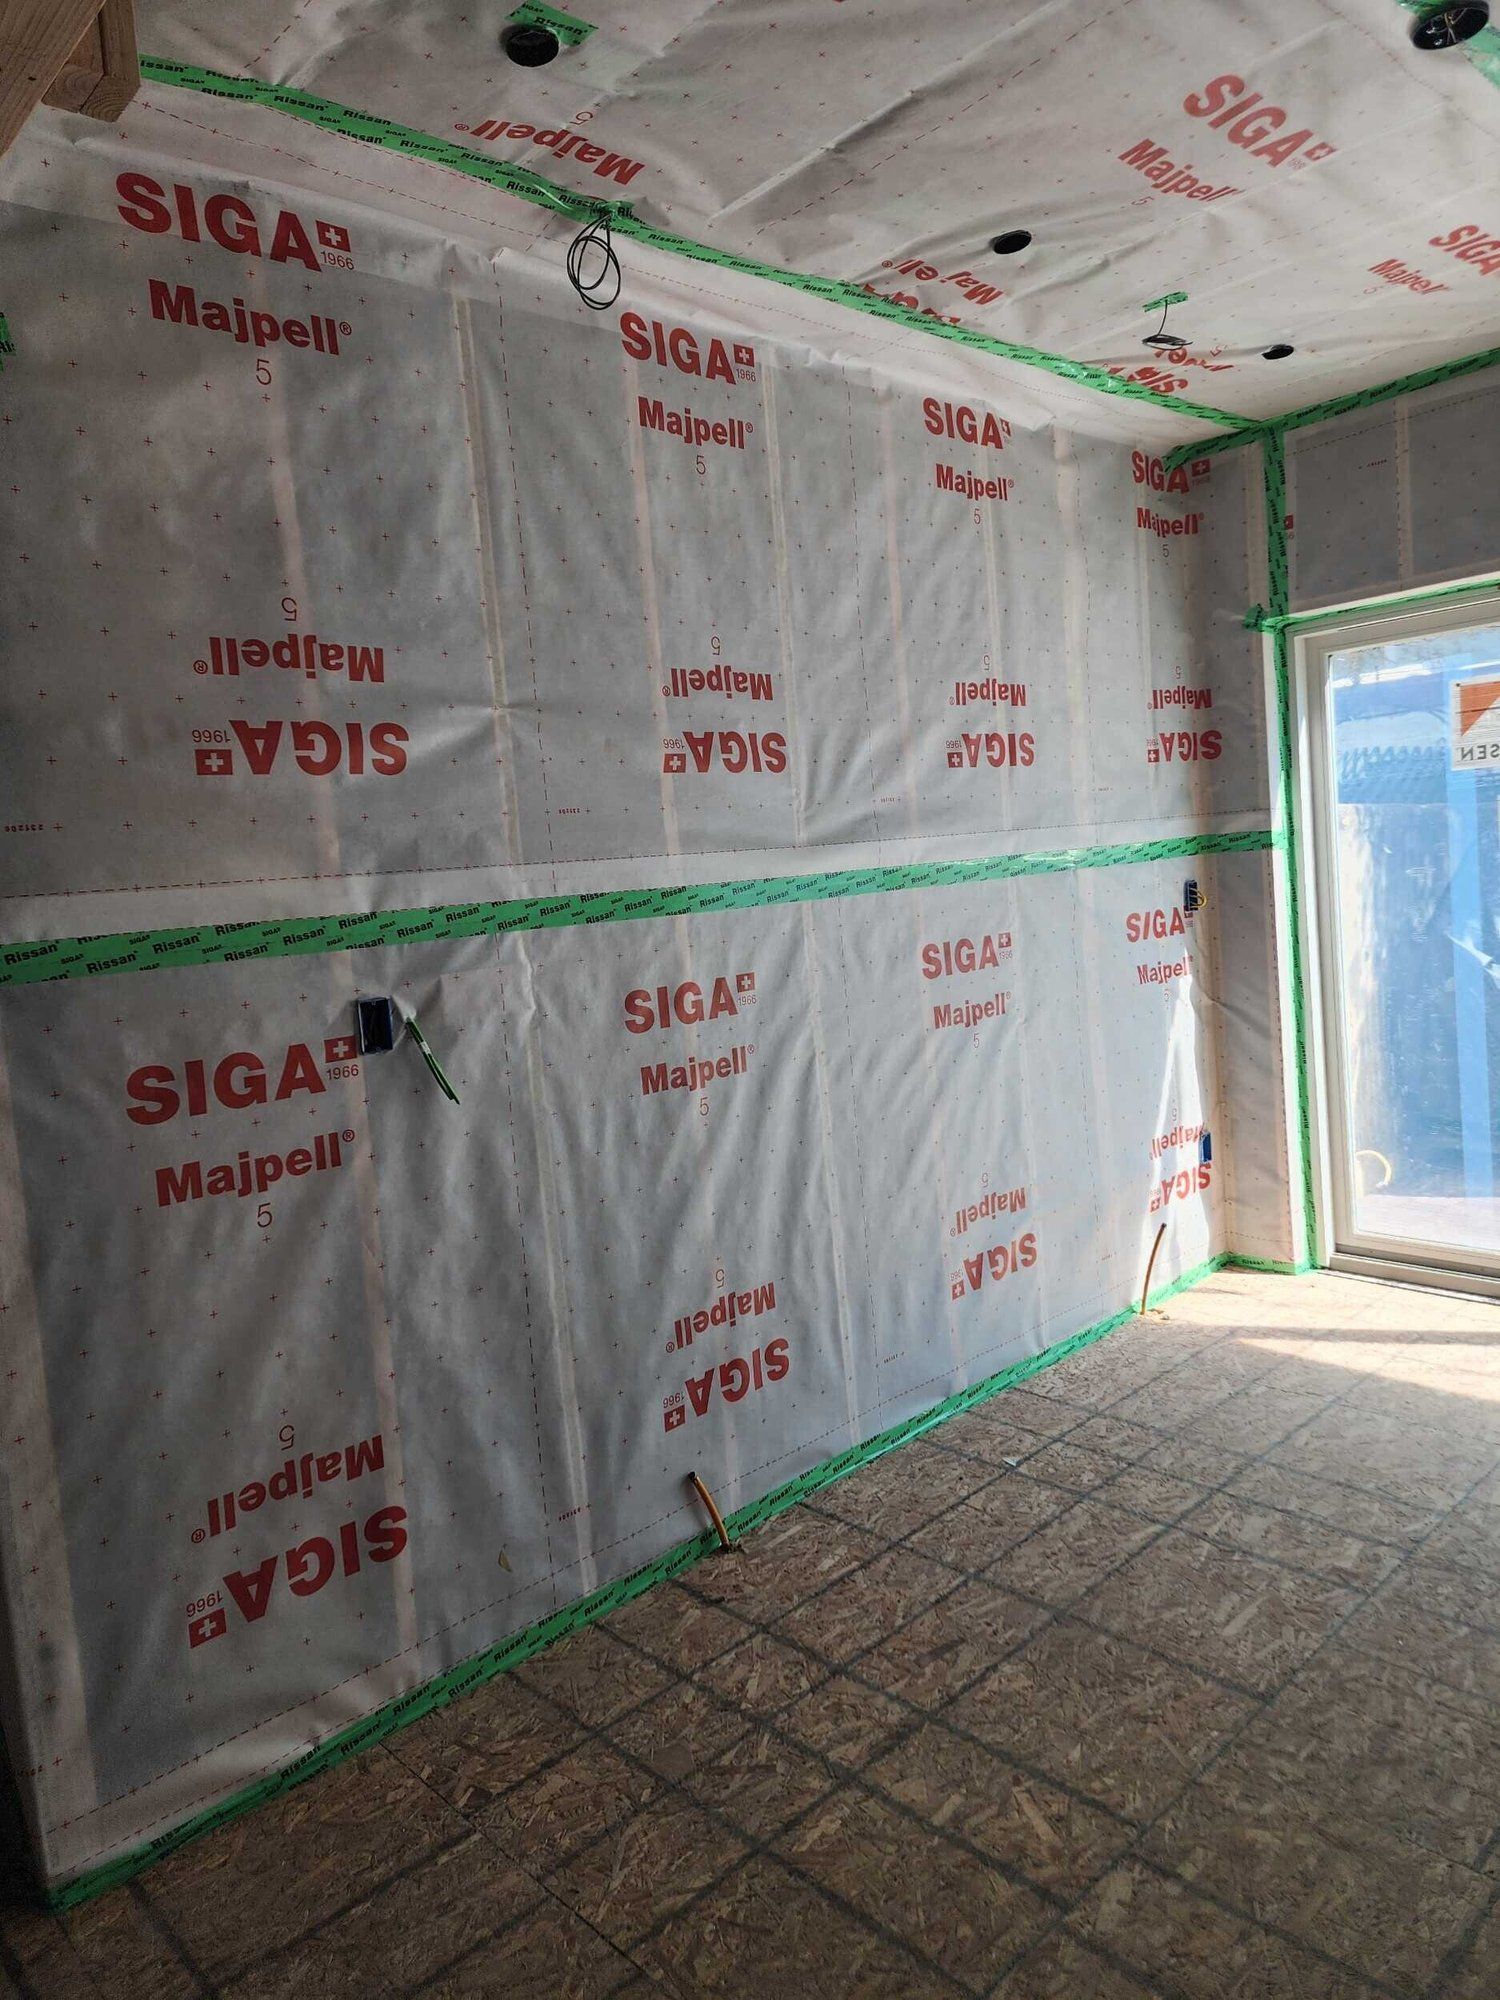
If you are doing a major project and have the walls, ceiling and or floors opened up then you can do more impactful air-sealing. We use a product line from a company called Siga. They make membranes and tapes that are “smart”. If moisture is trapped behind them, they become permeable so you don’t get mold or other health hazards. But they always block air flow. In the photo above, you can see the products in action. This is similar in function to the paper backing with flaps you see stapled to walls and ceilings with “faced” fiberglass insulation. The advantage of our approach is that it’s -here’s that word again - continuous.
In general, if you’re doing a big project, think about how to increase the R-values where the work is being done. Try to reduce drafts. And if you find yourself getting down on your rowhouse because you read about super-insulated Passive houses that have tiny heating bills, remember - your house is green because it was already here. It’s a part of an intact urban fabric, and you are taking steps to make it even greener. That’s not flashy, but it is green.
Thanks for reading. If you have a question about your roof, or anything else in your house, use our contact form to reach out and I’ll be happy to see if we can be of assistance.
Subscribe to Rowhouse Remodeling
Sign up with your email address to receive monthly insights into your rowhouse.