ROWHOUSE KITCHENS
When many of the rowhouses in Philadelphia were built, the definition of a kitchen was much different than what we think of today. A kitchen may have meant a hutch and a stove and little else. Under layers of floors and walls, we often find old stone hearths where a wood stove stood, and a clay inlet set in a brick chimney where the stovepipe went. Many kitchens in Center City were located in the basement! So, needless to say, our expectations for kitchens have changed somewhat. Technology has changed (we have refrigeration!). Habits have changed (we cook at home, for ourselves, and gather in the kitchen). What hasn’t changed is the space we have to work with. That, and natural light are the defining challenges of a rowhouse kitchen remodel. Read on for some tips on how to tackle these challenges.

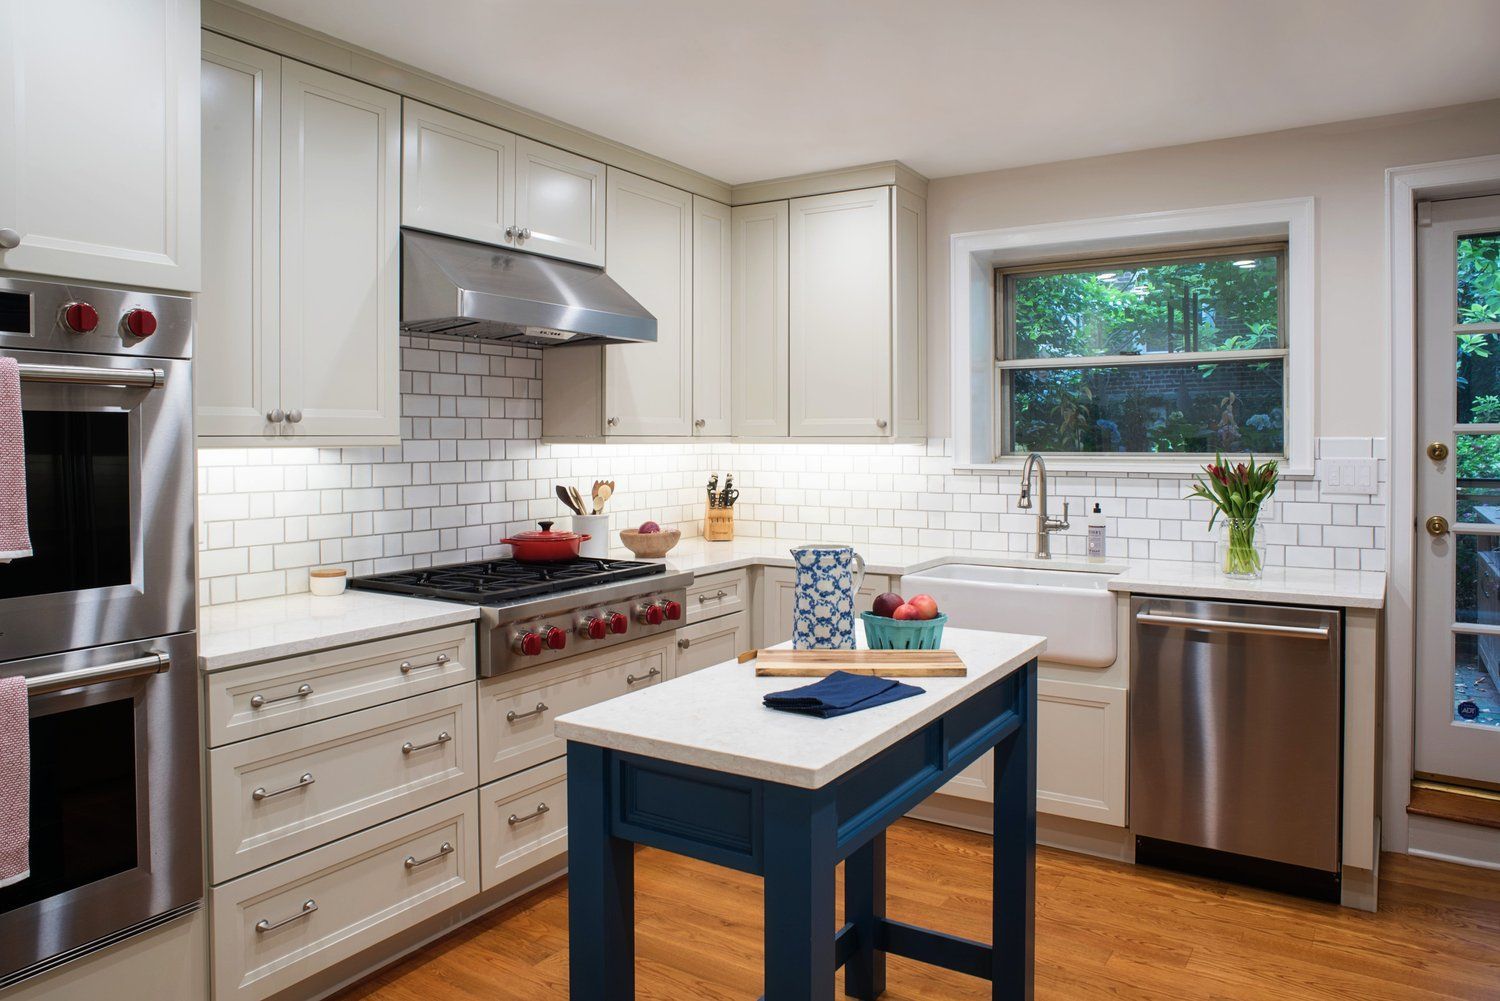
You spend a lot of time in your kitchen, so natural light is a must. One of the best ways to bring light in is to create a large opening at the back of the house (where most rowhouse kitchens are located). In the kitchen above, we installed glass French doors with a transom window above. We also patched the existing floors with salvaged wood where needed. The coffee bar counter is also made from salvaged wood.
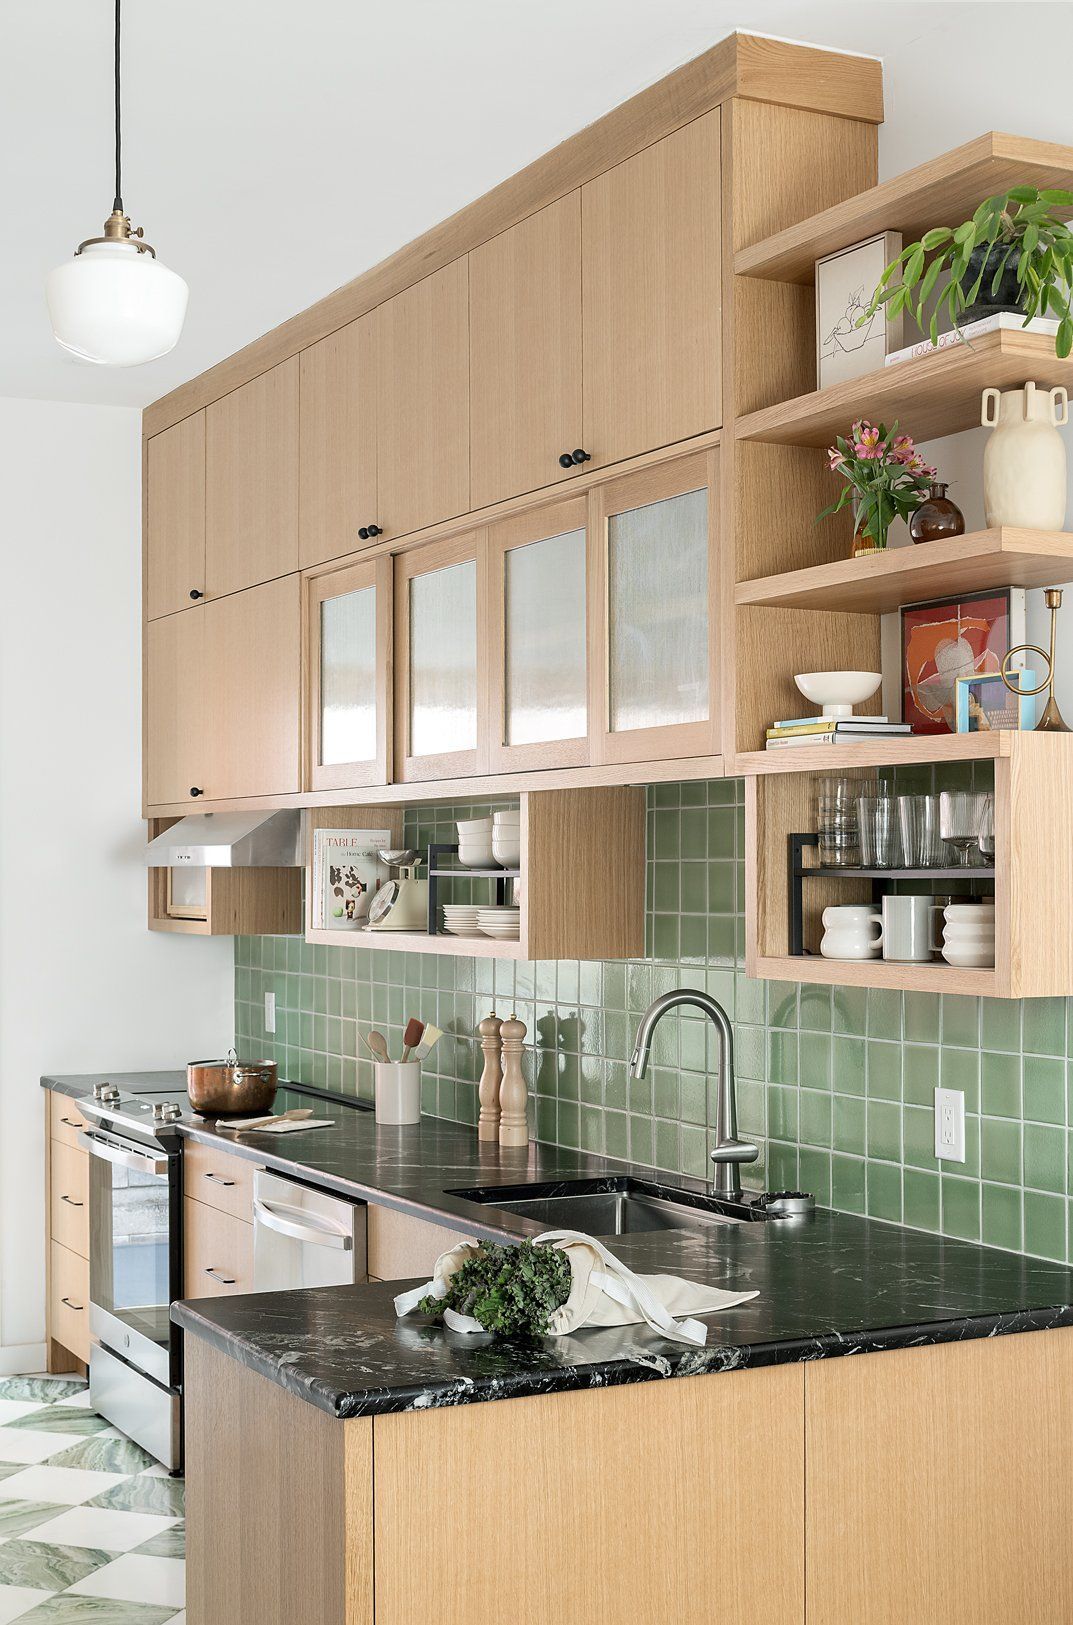
We have more stuff to store in our kitchens than they did 100 years ago. This means we need more cabinetry, and we need to design the cabinetry in ways to make the most of the space we have. In the kitchen above, we took advantage of the high ceilings to add cabinets up high for infrequently used items. Drawers are a great way to store items in base cabinets. You can see what’s in them easily, and these days the hardware is good enough that you can even store heavy pots and pans in a drawer. Many rowhouse kitchens are found in additions off the back of the original house. Though it often means putting in a steel beam to support the original brick rear wall, opening up the addition to adjacent spaces can allow us to get more space for the kitchen. Make sure you get a structural engineer to specify the beams needed and pull permits for the work.
How about islands? Some rowhouse kitchens are just too narrow for an island, especially if you put cabinets on both sides of the kitchen. However, many rowhouses have windows along a side alley, and if those windows have low sills and you’d like to keep them that way, it may make sense to have cabinets on one side of the kitchen and an island in the middle. Just make sure you have six feet of combined space on both sides. We often put 3.5’ on the cooking side and 2.5’ on the other side of the island. Technically you should have at least 3’ on both sides but rowhouses mean making some compromises. In the kitchen above we didn’t have room for a full two foot wide island, so we custom made a piece which provides additional prep space and drawers.

If you’re going to take your kitchen down to the studs (or brick) and start over, make sure you do two things:
- Air seal and insulate. This is your chance to make sure the kitchen is comfortable, and one way to do that is to keep air from getting in. Here, we used an membrane from Siga that seals out drafts. Along with insulation and the radiant heated floors we installed, this kitchen is cozy now.
- You don’t want drafts, but now that you’ve sealed up your kitchen, make sure you install a hood that’s vented to the outside so you can get unwanted odors out of the house. And if your hood is powerful enough, you may need to add a system to bring fresh air in when it’s on, called make-up air. Ask your appliance salesperson or designer if you’re required to install make-up air.
Thanks for reading. If you have a question about your kitchen, or anything else in your house, use our contact form to reach out and I’ll be happy to see if we can be of assistance.
Subscribe to Rowhouse Remodeling
Sign up with your email address to receive monthly insights into your rowhouse.