Rowhouse Walls
What could be more boring right? Actually, I’m excited about this one. If you open up a wall built in the last eighty years, you can be pretty sure of what you’ll find. But a lot of the houses we work on, and a lot of houses in Philadelphia, were built in the 19th century, and I’ll even be telling you about what we found in a wall from the 18th century. In that time frame there is a lot of variation, and it affects what you can do and your approach when remodeling an older rowhouse.
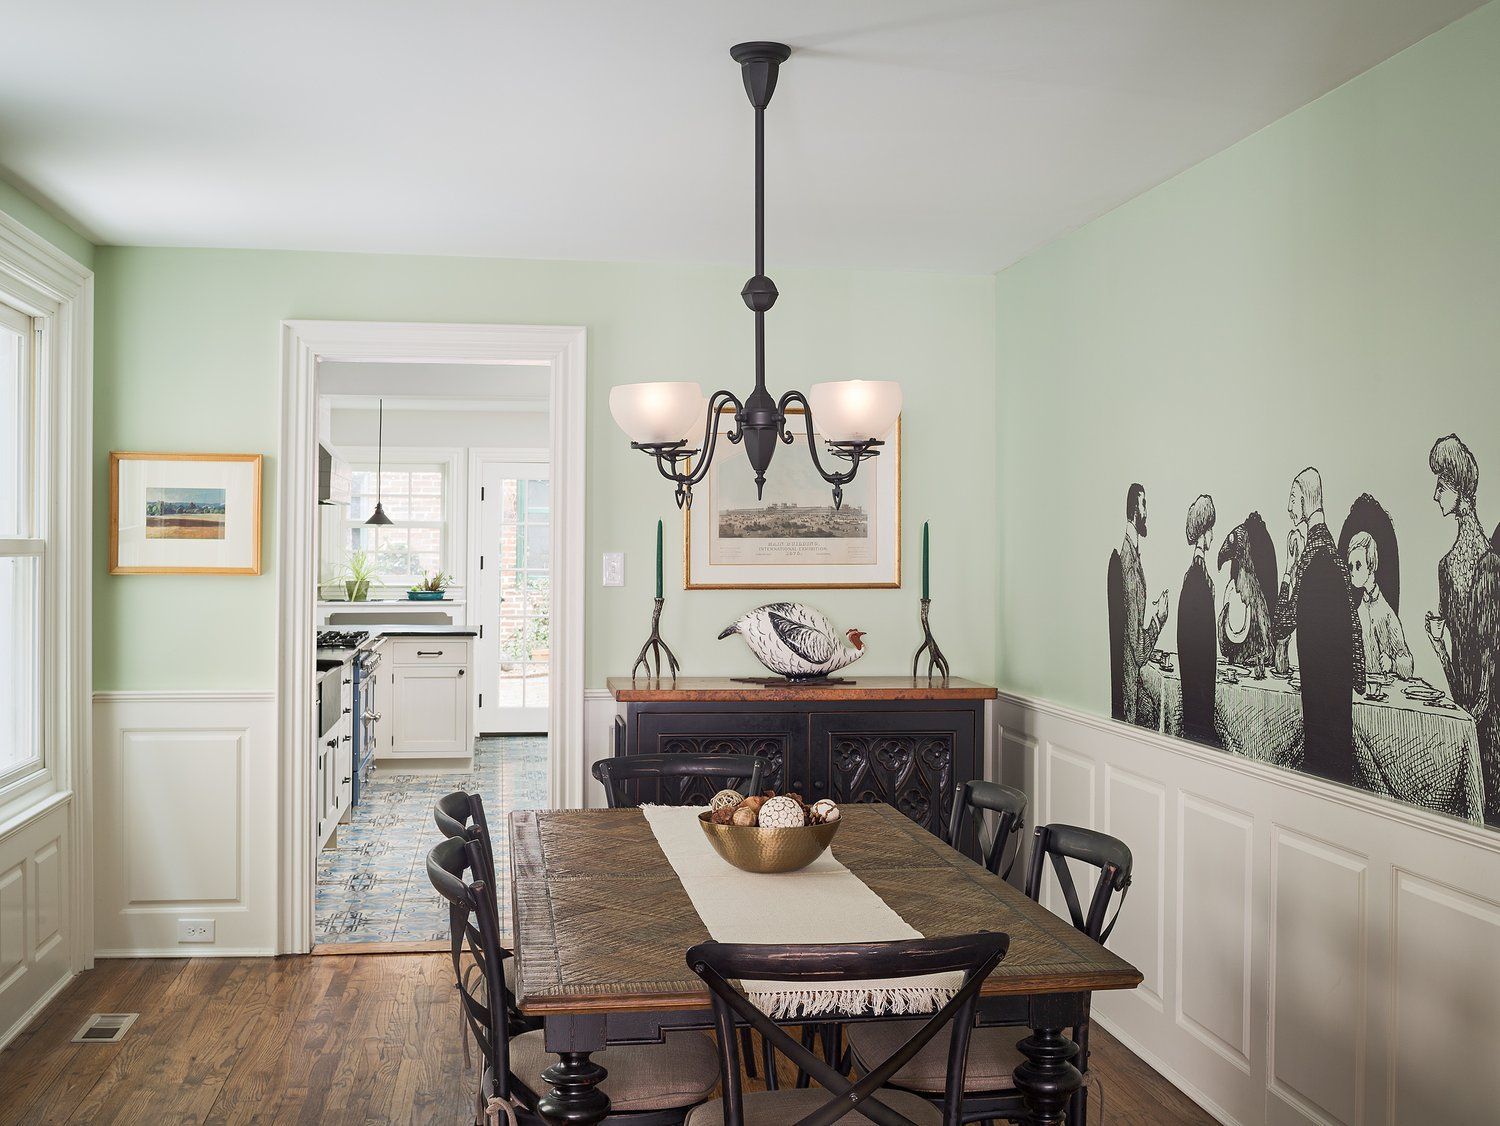
The house above was built right before the centennial celebration in Philadelphia in 1876 and is laid out as many rowhouses are. On the right, we have what’s called the party wall. This is the wall you share with your neighbor, and the wall you’ll hear them through when they have parties. On the left the house jogs in, creating a side alley and space so that we can have windows there. Both of these walls were built with brick. In newer homes, they would have likely been framed with 2x4 wood studs, or 2x4’s would have been installed in front of a masonry exterior wall. In rowhouses it’s not uncommon to have plaster applied directly to the brick. That’s the case here on the party wall. On the exterior wall, they set pieces of wood into the brick and then nailed 1” thick boards to those pieces. Strips of wood lath were then applied perpendicular to those boards and then plaster. So if you make a hole in the wall to run pipes or try to put an electrical box for an outlet or switch, you won’t find much space there. And when you cut the plaster, you may see fibers in the plaster. This is probably horse hair. Horse-drawn wagons brought the materials to the site to build this house. They were around, and the hair strengthens the plaster.
The photo above shows an interior wall, running perpendicular to the party walls. This is in a house from 1760. We wanted to make a larger opening in the wall between the rooms, and when we cut into that wall, we found something interesting. Instead of being framed with studs, the wall was made by lapping large boards, one inch thick, with widths up to eighteen inches! In the cross section photo below you can see the boards sandwiched together. You don’t see boards like that these days, and if you do, we don’t frame walls with them. But old growth lumber was plentiful when that home was built.

The warning here is to be prepared to find obstacles when you try to run wires in an old rowhouse. Even when the house is framed with dimensional lumber of some sort, and you find a cavity when you cut a hole, there are often other pieces running horizontally or at an angle in the wall that you’ll hit into when you try to fish the wire up or down.
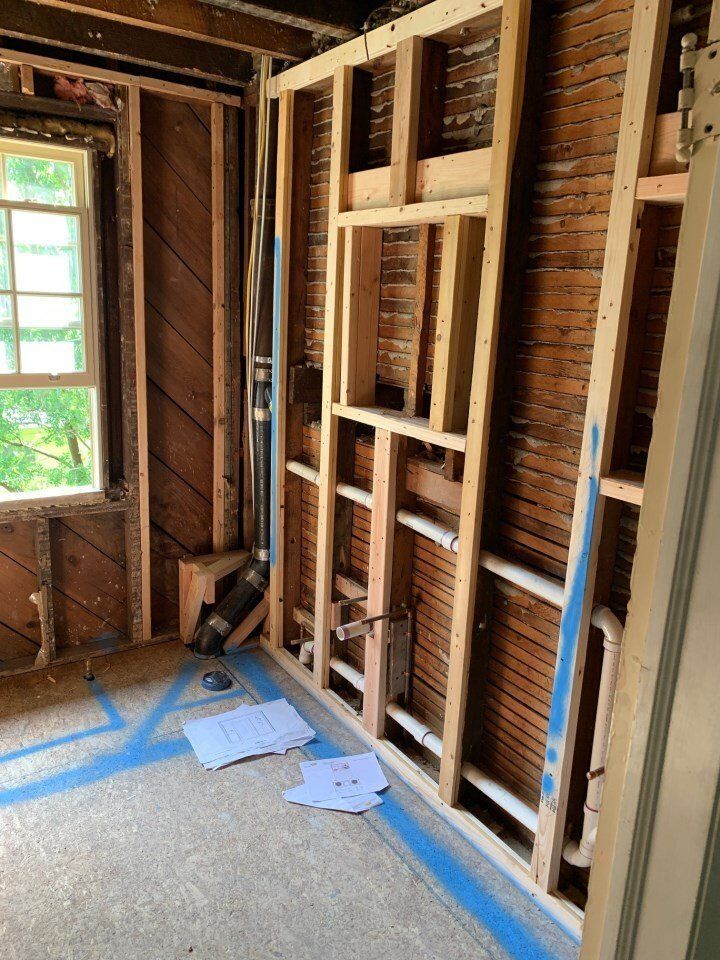
In the photo above you can see we had to add lumber to the face of the original framing. We did this to make the wall plumb for tile and cabinetry, but also to give us more room to run plumbing in the wall and to install a medicine cabinet, without disturbing the original plaster which you can see on the backside. Also in this photo, on the exterior wall, what you’re seeing is the sheathing. They installed these boards before putting up siding. There was no plywood back then!
Finally, you always need to be prepared to find layers when you’re looking at an old wall. These rowhouses have been through a lot of changes, and often contractors would just add another layer over top of the wall instead of doing demolition and starting over. Whether it’s drywall over plaster, or paneling, or tile, or all of the above as in the Instagram post above from a job we did in South Philly, be prepared for anything!
I hope this information comes in handy for you as you maintain and upgrade your rowhouse. If you have a question about your walls, or anything else in your house, use our
contact form to reach out and I’ll be happy to see if we can be of assistance.
Subscribe to Rowhouse Remodeling
Sign up with your email address to receive monthly insights into your rowhouse.